Showing posts with label Side Dish. Show all posts

Friday, November 28, 2025

Fried Mashed Potato Patties

No photo of today's dish- we were too hungry and just ate it. 
This is something my dad used to make when I was a kid and I always remember really liking it. I feel like I tried to make it once and it failed miserably and I had to toss it...... but honestly, I'm not THAT bad of a cook so I'm not sure how I would have messed it up so much?

Yesterday (Thanksgiving) when we were making the mashed potatoes (my job) we were discussing the leftovers. One of my kids loves mashed potatoes more than just about anything, but only freshly made. Once they've been refrigerated, this child doesn't want anything to do with it. sigh. 
My dad said "but leftover mashed potatoes are great. You can also make the potato patties." YES. Tell me how!! He said to mix some egg into it and fry it in a little butter. 

Today, after a lot of nibbling on mostly sweet Thanksgiving leftovers, we needed some dinner! I decided to make the potato patties, and have everyone get some left over meat (we had turkey, ham and pork kabobs) and some kind of vegetable and made a potato patty for each of us. 
I googled "how do you make fried mashed potato patties". I got a dozen results and I read four recipes before deciding to proceed. 

Ingredients: 
Leftover (cold) mashed potatoes (mine already have sour cream, salt and veg broth)
1 egg, beaten
2 Tbsp all-purpose flour
Heaping handful shredded cheddar
Butter 

I put approximately a serving of mashed potato, per person, into a mixing bowl. I beat an egg with a fork in a small bowl and poured that over it. I added the flour and some cheese. Then I mixed it up like I do with meatballs- with my bare hand. yum.... I shaped it into five patties and then melted some butter, enough to cover the frying pan. I could cook three at a time, in the pan and I added butter as needed. I just cooked them maybe 7 minutes on each side and voila! Dinner! 

They need to cook longer than you think, to get brown and crispy, but everyone seemed to like it a lot! 

Sunday, November 9, 2025

Refrigerator Kosher Dill Pickles

This is a keeper. The original recipe can be found here: www.food.com/recipe/refrigerator-kosher-dill-pickles-380632. Of course, I made some slight modifications.

Pickles

You can pickle just about any vegetable, but my favorites are cucumbers, English (long) cucumbers, white onions, and purple onions. You will need enough of the vegetable, cut up in whatever chunk you want, to fill the jar up to a 1/2 to 3/4 inch head gap at top of the jar. 

Pictured in this batch are English cucumbers, sliced into 1/4 slices, on a mandolin with a wavy pattern.


Pickling Brine - Per One "1 Quart" Jar
  • 1 1/2 cups water
  • 1 cup apple cider vinegar
Bring both the water and vinegar to a boil in a saucepan, then take off the heat and let cool completely before using.

Pickling Spices - Per One "1 Quart" Jar

You can put the spices into the jar before adding the vegetables or on top of them. It won't matter once the liquid is dumped in and the you shake it up.
  • 1 tbsp salt
  • 1/2 tbsp sugar
  • 1 tbsp dill seeds
  • 1 tsp dill weed
  • 1/4 tsp celery seed
  • 1/2 tsp mustard seed
  • 1/2 tsp red pepper flakes
  • 2 garlic cloves, smashed and chopped. 
    • Use fresh garlic here not the pre-minced stuff in a jar. You want the full strength of the garlic on display. 
Put one batch of spices in each jar of pickles. Add the cooled pickling brine and fill the jar to the top, covering the pickles best you can. Leave at least a 1/2 inch air gap at the top between the liquid and the top of the jar. Screw on your lid on your jar and shake for a few seconds to distribute the salt and spices evenly.

Refrigerate for 7 days, shaking the jar for a few seconds every day. These will last approximately 6 months in the refrigerator. If you can't wait a full 7 days, let the jar sit for at least 24 hours before trying your pickles. I recommend making at least two jars. The first jar can be ready to eat in 24 hours, which, hopefully, will last a full seven days so the second jar will be fully matured. 

Monday, July 7, 2025

Instant Pot Mashed Potatoes

A really long time ago, my friend walked me thru how to make mashed potatoes in the instant pot. It is still the only thing I know how to make in the instant pot, but don't worry, my husband uses it frequently. 

So for the most basic but clear instructions, here we go! 

Peel and slice or cube potatoes
    (I do one per person, plus an extra or two depending on size)
Put the cubes in the pot.
Cover them in water.
Can add 1/2 tsp salt -sometimes I do, sometimes I don't, sometimes my husband uses bullion in place of salt.

Cook on manual for 8 minutes 
In my case, I push "pressure cook" and then the up/down button til it says "high" and "00:08" and then it starts. This is my machine: 

Eventually it comes to pressure, then it counts down from 8.

Then, I pour off most of the water, but save some in a glass measuring cup. 
I add butter, sour cream or plain greek yogurt, and salt if necessary, and the potato water, and I use the beaters/hand mixer to "mash" them. 


voila! 
Mashed potatoes! 

Sunday, July 6, 2025

Pasta Salad with Balsamic Vinaigrette/Mayonnaise Dressing

Pasta Salad Ingredients - Feel free to swap out or add ingredients to your liking. Amounts below are a guide, not a requirement.

  •  16 oz cooked rigatoni pasta
  • 1/2 cup of chopped celery 
  • 1/4 cup of chopped pepperoni
  • 1/2 cup of chopped pickled banana peppers/pepperoncini
  • 1/2 cup or 1/2 of a chopped white onion 
  • 6 mozzarella sticks sliced into thin discs 
  • 3/4 cup of black olives sliced in half 
  • 2 large tomatoes chopped 

Dressing

  • 1/4 cup of balsamic vinegar 
  • 1/4 cup of olive oil 
  • 1 tbsp of oregano 
  • 1 tbsp of basil sweet 
  • 1 tbsp of parsley 
  • 1 tsp of onion powder 
  • 1 tsp of garlic powder 
  • 2 tsp of salt 
  • 2 tbsp of Dijon mustard
  • 1/3 cup of mayonnaise
Garnish 
1/4 cup of shredded parmesan 
1 tbsp of freshly ground black pepper 

Whisk dressing ingredients to combine, pour over salad, and gently stir in so as not to break up the pasta. Let salad marinate and chill in the fridge for at least 5 hours before serving. Add garish of parmesan and pepper right before serving.

Saturday, June 21, 2025

Grape Salad

This was shared at a RS Activity - it was delicious and I'm not allergic so YEAY! The person who brought it was vague about the ingredients so I googled and selected the following recipe, as pretty darn close! 

 Ingredients: 

  • 4 pounds grapes a mix of red and green seedless grapes (I use red or black)
  • 1 8 ounce bar of cream cheese, softened
  • 1/2 cup light sour cream
  • 1/2 cup vanilla Greek yogurt
  • 3 tablespoons confectioners sugar
  • 3 tablespoons brown sugar
  • 3 tablespoons crushed pecans (I leave this off)
  • Wash and dry the grapes and remove the stems. Set the grapes aside.
  • In a large mixing bowl add the cream cheese, sour cream, Greek yogurt and confectioners sugar. Use an electric mixer to beat the mixture until it is completely smooth. Use a spatula to scrape down the edges and beat for an additional 20 seconds.
  • When the cream cheese mixture is light, fluffy and completely smooth stir in the grapes.
  • At this point you can transfer the mixture to a serving dish (if you aren't serving it in the mixing bowl). Sprinkle the top of the grape salad with brown sugar and crushed pecans
  • Chill the salad 30 minutes before serving.

Link: https://farmlifediy.com/grape-salad/

Monday, February 3, 2025

Corn Salsa

At our house, we don't sport. So we don't watch the Superbowl.
But sometimes it matches up with Groundhog Day and we do observe that, haha!
A few years ago we started making "game food" to eat while we watch the movie Groundhog Day. 
This year, we decided to try some new recipes, that ended up worth keeping. And making notes of. 

First up- Corn Salsa! The recipe came from HERE. 

That link will tell you that you need: 
- 2 cups cooked corn, or 3 cobs worth (which can be grilled, or fresh, or frozen)
- 2 small tomatoes, seeded and diced
- 1/2 cup red onion, diced
- 1 scallion, diced
- 1 jalapeno, diced (and seeded for milder flavor)
- 2 tbsp chopped cilantro
- juice from one fresh lime
- salt and pepper to taste 

My husband knows how to cook and cannot just follow a recipe without doing his own thing, haha. He started by broiling the frozen corn. He broiled and tossed til the corn started getting a bit of char on it.
He used two limes worth of juice. He also added some olive oil and this Mexican seasoning to it.  


His only complaint was that it was very dry. Maybe next time he won't seed the tomatoes, and just include the whole thing? However, it was well received, so we'll keep the recipe. 
Very easy, just a lot of chopping. 
And we just ate it with tortilla chips. 

Wednesday, October 16, 2019

Pumpkin Dip

I made this recipe several years ago for a small gathering. This year, after making pumpkin chocolate chip muffins, I had left over pumpkin and remembered this dip! It took me a while to find it again, so I'm sharing and saving it here so I don't forget. A friend blogged it HERE, and it was yummy!!
Her recipe is:

1 8oz package cream cheese, softened
2 cups powdered sugar
1 15oz can pumpkin
1 tbsp cinnamon
1 tbsp pumpkin spice (or nutmeg, cloves, cinnamon)
1 tbsp frozen orange juice concentrate

In a medium bowl, blend cream cheese and powdered sugar until smooth.
Gradually mix in the pumpkin.
Stir in the spices and orange juice until smooth and well blended.
Chill until serving. Serve with the best gingersnaps you can find for dipping.

Tuesday, November 22, 2016

Sweet Potato Casserole

I really love sweet potatoes. This is a trend I can get on board with! Sweet potato fries, sweet potato tator tots, mashed sweet potatoes...yep, all good. Don't get me wrong- I really like white potatoes and red potatoes too. But sweet potatoes have this nice reputation that make me feel like its better for me, hahaha, and it's a good change.

At Thanksgiving, my dad has always baked or microwaved a single yam and topped it in marshmallows, and usually he's the only one who eats it.
One year my husband and I tried to put something together in place of said yam, and it was so sickly sweet no one ate any of it. sad...

This autumn, on Pinterest, I found THIS. And I thought it sounded really, really yummy. I really wanted to make it...but what if it was yucky?? I didn't want to make the whole 8x11 pan for just my family...so I thought I'd try it out as a side dish for Thanksgiving. Then scoops of it could get thrown away bit by bit instead of "wasting" the whole pan, hahaha!

So, we gave it a shot!
 It smelled soooo dreamy good!!
And it was a huge hit! I could not get enough of it, and I think all the people who had some enjoyed it. YEAY! and phew...

And since we liked it so much, we made it for our Christmas Eve dinner, and then again in January, just for dinner!
I really think it might be my very favorite food right now. My kids aren't huge fans tho, so unless we have company we have to halve the recipe.


Author: 
Ingredients
  • 3 cups mashed sweet potatoes
  • 1 cup brown sugar
  • 2 eggs, slightly beaten
  • 1 tsp vanilla
  • ½ cup milk
  • ½ cup butter, melted
  • ½ cup brown sugar
  • ⅓ cup flour
  • ⅓ cup butter, melted
  • ½ cup chopped pecans
Instructions
In a medium bowl, combine the first six ingredients.
  1. Transfer the mixture to a buttered 1½ or 2 qt casserole dish.
  2. Mix remaining ingredients listed in a small bowl.
  3. Sprinkle mixture on top of potato mixture.
  4. Bake at 350 for 30-40 minutes


Sunday, August 16, 2015

Grilled Peaches: Revisited!

Something about "teaching a man to fish..." comes to mind...hahaha!
I have wanted to grill peaches for several days now and my husband hasn't had a chance except when we have plenty of other food ready to eat, ie: dinner time. (see the previous post HERE)
So today when I asked for it at lunch time, I also asked if there was a way *I could 'grill' them inside and just do it myself, hahaha....
Here's how we did it:
Put a sheet of tin foil over a 6-cup muffin pan. Lay a peach half, cut side up, in the cups. Put under the broiler for 3 minutes. Pull the pan out of the oven and turn it to 500*. Sprinkled on a bit of brown sugar. When the oven reached 500*, I put the peaches back in for 5 mins.
Yep! That worked great!!

*however, this time it was much tastier with the peel pulled off...maybe the peel burned? I don't know, it just wasn't very tasty.

Monday, June 15, 2015

Mexican Chopped Salad- my version

Well, I absolutely enjoyed tonight's dinner, which means I'm going to be crazy and post it here!
(I know, it's been a few months...but I'm not sure we've tried very many new things that we've liked in that time, so you really aren't missing out...)

Tonight's dinner was totally inspired by THIS recipe which I found on Pinterest. However, I changed it up.
...mostly because I wasn't interested in finding out if I'm allergic to raw zucchini or jicama...wimp? maybe...but allergic reactions to food are not nearly as fun as they sound.
So here's what we did:

Salad:
  • 1/2 head chopped ice burg lettuce (in separate bowl) 
  • 1 thick chicken breast, cubed and browned in pan with olive oil, black pepper, cumin and granulated garlic
  • 3/4 cup sliced frozen bell peppers, chopped 
  • 1 red onion, minced
  • 3 medium tomatoes, chopped
  • 1 fresh corn-off-the-cob
  • 1 can black beans, drained and rinsed
  • 1 can pinto beans, drained and rinsed
  • 1 avocado, chopped
Dressing: 
  • 2 tbsp honey
  • 1/4 cup lime juice
  • 2 tbsp olive oil
  • 1 tsp minced garlic
  • 1/4 tsp cumin
  • 1/2 tsp sea salt
  • freshly ground black pepper
  • fresh cilantro
I started by getting the corn boiling, and the chicken browned. My husband and I chopped up all the ingredients and put it all in a bowl. I mixed up the dressing with a fork, and my husband poured into our mini chopper/food processor. He added cilantro to taste, and we have no idea how much, haha... Then he poured it all over the salad ingredients. I chopped up the lettuce and we kept it separate. To serve, we "made little nests"! I put a serving of lettuce on the bottom of each wide bowl, then a big scoop of the salad. 
I was surprised how much I liked it, how much the lettuce added to the dish, and how nicely it filled me up! I added the chicken to make it more of a meal but considering it was only one chicken breast, it was just a nice addition. 

Tortilla chips would have been a nice touch, my husband even suggested Cool Ranch Doritos crumbled over the top. My son added cheese, which works well with all things Mexican. But I really enjoyed it exactly as it was. And aside from the corn and chicken, which you could easily grill, it wasn't a lot of 'cooking' involved, making it perfect for these hot summer days!

*I ate it for two dinners and two lunches in a row, the family had it both nights for dinner. They all liked it much better with Cool Ranch Doritos crumbled into it, haha! I liked it just as it was! 

Monday, July 14, 2014

Vegetables for dinner!

While it is true we've gone a lonnng time without trying any new recipes that I cared to keep, really, I just haven't had time to blog about food. But I happen to have a little time, so here's at least this post! haha...

A long time ago, I pinned THIS on pinterest. We finally got around to trying it!!
I followed that recipe almost exactly. I used at least three tomatoes and I think two small potatoes, and filled an 8x8 pan. Yep, I layered them in a pattern and had my son photo the process...
 Here it is, ready to bake...
 And now it has melty cheese all over it- ready to eat!
I figured if we split it in fourths that was about an average dinner for each of us, along with a slice of bread. Well, it was enough food for me, but not for anyone else in my family, so I'd recommend you use it as a side dish along with some grilled chicken or something like that!
It was easy, but a little tedious to make.
Two of us liked it, one of us tolerated it and the fourth didn't like it at all.

Tuesday, January 14, 2014

Hummus!

I really like hummus, but the cheapest way to get it is at Costco and I get tired of the one flavor over and over. I was excited when I saw this link on pinterest to try making our own! So here's our journey...

After trying 4 local stores, I couldn't find tahini anywhere, but we did finally find a bottle of sesame seeds...and my husband checked google and learned that tahini is just sesame seeds and olive oil!! We used our Blendtec to make it smooth and tada- that step was done!
fresh tahini!
If I can get it frozen or whole, I try not to buy canned foods, believe it or not. So I bought a bag of dry chickpeas for this. Chickpeas soaked for 13 hours, simmered on the stove about an hour, until tender. (can I just say how amusing it was to find myself sorting dry beans, late at night, to soak in my grandmother's pot...when she's the reason I remember sorting dry beans ever)
And then the mixing began! He used the food processor to make the different hummus blends.
Classic Hummus
First my husband made the CLASSIC variety on that link-
16 oz chickpeas
1/3 cup tahini
2 tbsp. olive oil
2 tbsp. lemon juice
1 scoop minced garlic
 It came out really thick, so he just drizzled more olive oil while it mixed til it was smooth. Then he still added more lemon and some salt and pepper. Pretty good- but the tahini was really strong, so next time we'll use less. Maybe because it was fresh?

Guaca-Hummus
Next up- the GUACA-HUMMUS!
16 oz chickpeas
1 avocado
1 jalapeno
1/4 cup cilantro
2 tbsp. lime juice
salt
pepper
ok, I absolutely love guac, and this was UH-mazing!! It was like a lighter, clean guac, if that makes any sense at all... it is SO good with tortilla chips or pita chips! YUM!

Southwestern Hummus
Then, he was going to make the tapenade variety, but I was raving about the guaca-hummus so much that he said he could just make that again. Since I only bought one jalapeno, he swapped out that for the roasted red peppers (shown below). So here's a different SOUTHWESTERN HUMMUS and um, it might be the winner!!!
1 avocado
2 cups chickpeas
1/4 cup cilantro
1/2 bottle roasted red peppers (about 6oz)
1/2 tsp salt
2 tsp chili powder
2 tbsp. lime juice
drizzled olive oil to make it a smooth paste
 It has a kick, but it's a good one!
 

Classic, Southwestern & Guaca-Hummus, ready to be enjoyed!
and incase you have as much "fun" looking for the roasted red peppers as I did- they're by the pickles, (not the vegetables, nor the Mexican, nor the Italian) and this is the bottle I grabbed.
*Hummus, as far as I know, is used in two basic ways- as a dip or as a sandwich spread. I'm allergic to the fresh vegetables I've heard of dipping into it, so I usually eat it with Keebler Townhouse Flatbread crisps, or Keebler Pita crackers. The Bagel Chips are really good with it too, and I am absolutely going to use tortilla chips with the other flavors we made tonight! I'm also considering sandwichy ideas to use it in!

Let me know if you make your own hummus and what you think! :) I am looking forward to meals this week!

**Edited:
1/27: Tonight he made the Tapenade variety in the same link. We were very low on parsley so he threw in some dried oregano, and some onion powder and it too is fantastic! Have you tried these yet??

Friday, August 30, 2013

Summer Meal

Here was dinner a couple weeks ago, to spark your own plan:
Meatballs, Corn on the Cob and Grilled Pineapple! (those who don't like pineapple got a fruit salad of apples, bananas and grapes!)
To grill the pineapple, he cut it into halves and brushed them with a mixture of brown sugar, honey, apple cider vinegar (and considered using Sprite).

And just so you know, its not just me who thinks life is easier with a menu plan. Check THIS POST out! Use it as inspiration and make a plan that works for you!

Tuesday, July 30, 2013

Vegetable Appetizer!

This post got lost in my drafts...not sure why I never shared it, so here it is, just in time for harvest season!

Today for lunch I ate a zucchini. I made THIS recipe for zucchini fries (which I found on Pinterest) and here's how mine looked:
Zucchini Fries
It was messy and time consuming but they were super tasty!! I think its worth making a few times a year, haha. I'm really lousy at the dipping dry-wet-dry process, but that's ok.
I just dipped them in a basic marinara sauce and it was a very tasty (and mostly healthy) lunch!

Monday, May 20, 2013

Bacon Wrapped Chicken

Have you seen this one on facebook yet? My husband decided we needed to try it and it was a hit! I'll let him type it:

Bacon Wrapped, Cream Cheese Stuffed Chicken Breasts-Burt's Version:


4 boneless skinless chicken breasts
1 block (12 oz?) cream cheese
1 bunch of 12 green onions, chopped up
1 tbsp. of onion powder
1 tbsp. of granulated garlic or garlic powder
1 tbsp. of sour cream
2 tbsp. of chives
2 strips of thick sliced bacon

Directions:

Pound out each chicken breast so they are about 1/4" thick or less than a 1/4" thick. Be careful not to make chicken pate. Not the point. You may need to trim the chicken pieces a bit so that they have a semi uniform shape that will be easy to roll.

Whip together using a electric hand mixer the cream cheese, green onions, onion powder, garlic powder, sour cream, and chives until it has taken in some air, is lighter in consistency, and is easily spreadable.

Taking great care to not contaminate the cream cheese spread with raw chicken, put a good size dollop of the mixture on one side of chicken breast and spread it so it evenly coats the one side. Then roll up each flattened piece up to look like a log or a pinwheel as best you can. You may need to use toothpicks to keep them rolled up. Which is fine because you will use the toothpicks with the bacon anyways.

You should have some of the cream cheese mixture left and it will be really good with crackers, so long as you don't poison yourself with salmonella by getting raw chicken juice into the rest of it.


Take each piece of bacon and wrap it around each chicken log in a way that makes the most sense to you. The bacon should be raw and if you use a good thick cut type of bacon, you can even stretch out each piece a little so that it will wrap easier.


Put in a baking dish and cook at 375 for 30 minutes, then turn your oven to broil and cook for another 5 minutes. There is no need to pull the pan out of the oven when you do this. The broiling will help make everything crispy and yummy.

Someone said on the internet that you can sub turkey bacon for the bacon, and a low fat cream cheese to make this healthier, but I think that is just cheating. One other note, there was quite a bit of liquid in the pan after the chicken was done cooking. As I look at this, those drippings probably could have made a really killer gravy if I'd thought of that at the time. Chicken, cream cheese, and bacon drippings. Yes, really killer gravy.

The rest of the meal included sautéed green beans:

1 16oz package of frozen green beans
1 cast iron frying pan (my favorite cooking pan of all time)
Olive Oil, enough to coat the bottom of the pan
1 tbsp. butter
1 tbsp. margarine (yes use both if you have them)
Whatever seasoning you would like to use with the green beans. Lemon pepper would work great.

Put the pan over med high heat. When it is hot, put in the oil, butter, and margarine. Let them melt completely and wait until the butter starts to turn brownish. It should have a nutty smell to. Be careful here, because browning butter turns to burned butter quickly. Add the frozen green beans. Toss around so they get coated. (You can pretend you are a chef on Food Network.) Add your seasoning. Add a little more than you think you need. The beans and heat will absorb and mute the flavors. Cook, tossing and stirring continually, until the beans have thoroughly cooked through and even have little black strips on a few of them. That is flavor, not burned bits. A lot of black strips would be burned. Taste them as you cook. When they taste good to you stop cooking them.

And the really good spinach salad that Tanya made:

I just bought a bag of baby spinach leaves and dumped that into the bowl. I hulled and thinly sliced 10-12 strawberries and sprinkled them in, and chopped up a tomato too. Then we chopped up some honey roasted peanuts and sprinkled that over it. We have some Litehouse Huckleberry vinaigrette that we served with it and it was very tasty.

Some craisins, cut up grapes or any other berry would be great with it. Any fruity vinaigrette would go well with this salad.

YUM!

Tuesday, April 9, 2013

Cheesy baked chicken

Have you noticed the plethora of recipes posted all over facebook? Well this is one such recipe! Since I can't link you to my friends' wall and there is no source listed, I'm copying and pasting!

It starts with a photo and then this:
You may never fry chicken again after tasting this baked crispy chicken.

Crispy Cheddar Chicken
2 lbs chicken tenders or 4 large chicken breasts
2 sleeves Ritz crackers
1/4 teaspoons salt
1/8 teaspoon pepper
1/2 cup whole milk
3 cups cheddar cheese, grated
1 teaspoon dried parsley

Sauce:
1 10 ounce can cream of chicken soup
2 tablespoon sour cream
2 tablespoon butter

Crush crackers. If using chicken breasts and not tenders, cut each chicken breast into 3 large pieces. Pour the milk, cheese and cracker crumbs into 3 separate small pans. Toss the salt and pepper into the cracker crumbs and stir the mixture around to combine. Dip each piece of chicken into the milk and then the cheese. Press the cheese into the chicken with your fingers. Then press the cheesy coated chicken into the cracker crumbs and press it in.
Spray a 9×13 pan with cooking spray and lay the chicken inside the pan. Sprinkle the dried parsley over the chicken. Cover the pan with tin foil and bake at 400 degrees for 35 minutes. Remove the tin foil, bake for an additional 10-15 minutes, or until the edges of the chicken are golden brown and crispy.
In a medium sized sauce pan combine the cream of chicken soup, sour cream and butter with a whisk. Stir it over medium high heat until the sauce is nice and hot. Serve over the chicken.

Well, I don't know about you, but I read the quantities they wanted me to get raw chicken all over and then toss and I was not about to use {waste?!} that much!! I measured out 2 cups of cheese and figured if I needed more I could get more. Yeah, I probably used 1 1/4 cups of cheese. I smooshed up one sleeve of ritz crackers....I bet I could have used half of one. I also only added half the salt and I never measure my pepper because I like it freshly ground.
I want to note that it was not easy to get the cheese and then the crumbs to stick to the chicken, and it seemed like a lot of cheese fell off into the chicken...which doesn't matter a lot, but the process was a little frustrating...
My husband put together the sauce. He followed the instructions as listed but he added about 3 tbsp bottled alfredo sauce. Mixed and heated it up and we put it on the chicken! YUM!
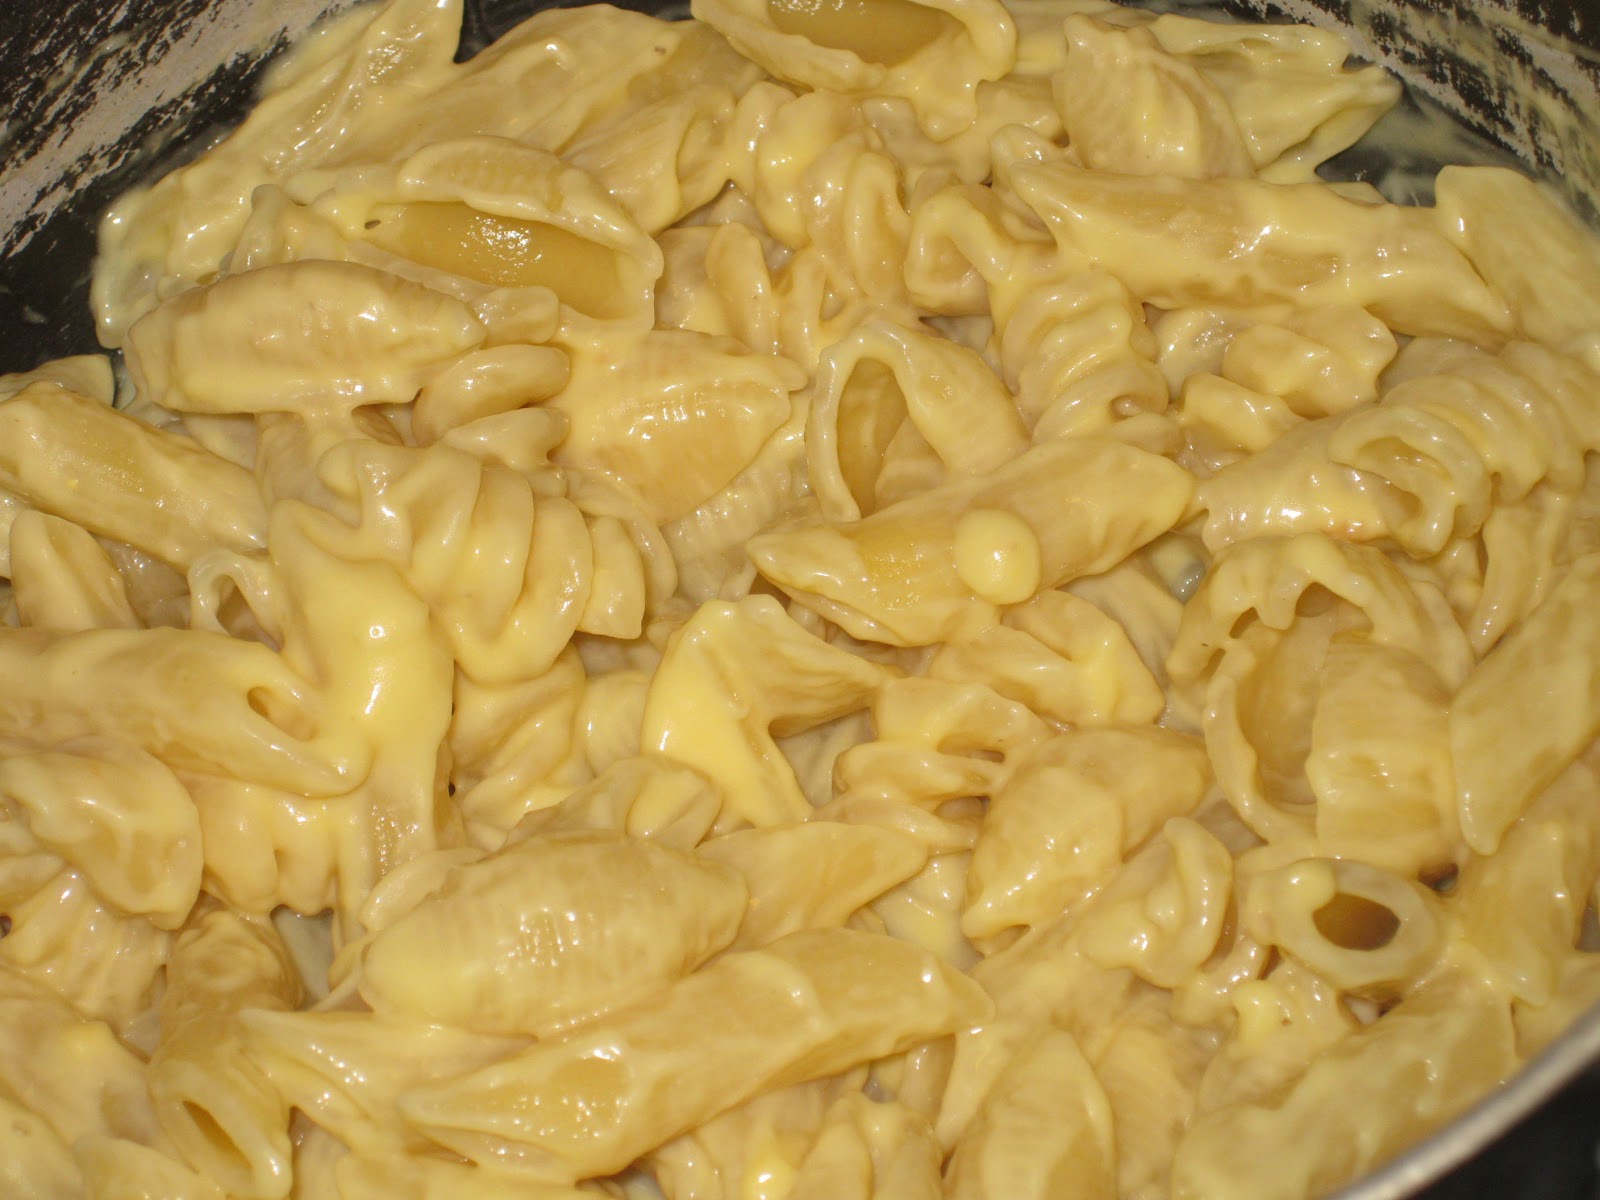
Then! He cooked up some shaped pasta and mixed about half the sauce with the pasta, which we served on the side!
Add a helping of veggies and there was dinner tonight! Dinner was great. The recipe is worth keeping and doing again. Everyone enjoyed it- hooray!

Friday, February 15, 2013

Valentine Jello

My husband saw THIS on one of our favorite food-inspiration blogs so I bought the ingredients and we're having it with our Valentines dinner!
I must admit, while I was mixing the white gelatin (for 30. long. minutes.) I was worried that it wouldn't taste good...it did NOT smell good.... However, it was a big hit and it was very yummy! PHEW! haha! As a note, I bought Juicy Juice Berry to make the red jello.

Here are my pictures...

 ta-da!

Tuesday, August 21, 2012

Guacamole!

This is one of my favorite things for my husband to make. It is SO yummy and I swear its nutritious becuase its made out of nothing but produce!
5-6 ripe Avacados
3 Roma Tomatoes
5 jalapeno peppers
2 Tbsp Lime Juice
1/8 cup dehydrated onion
1 Coconut
garlic powder, onion powder, black pepper, sea salt, hot sauce to taste
Here's what he does:
Peel avacados, chopped and pureed with a stick blender til smooth (unless you like chunks, then a fork is fine) Add 2 Tbsp lime juice, or more if you want more citrus flavor. Chop tomatos and sort of smash them (if you use other tomatoes, squeese the seeds out). Rehydrate your dehydrated onion in about 1/2 cup water. Drain off the water, squeeze out in paper towels. (he thinks it would probably taste better to mince fresh onion but we always have dehydrated on hand). Roast the jalapeno peppers on an open burner or in a steamer basket on the stove, until the peppers are charred all the way around. Run them under cold, running water and rub the charred, waxy skin off. Cut off the ends, butterfly the peppers open and cut out the seeds and middle spine, mince up finely. They'll be very soft to work with. Now you want to add about 3 tbsp fresh coconut water (as in, crack open a coconut, pour the liquid thru a strainer and use the liqued) *You can leave this out but it adds a yummy, rich flavor. Do not use a canned coconut milk product, you need the fresh stuff. and, if you don't like to eat a coconut, give it to us, thanks! haha!
Add about 2 tsp salt, some garlic powder, onion powder and black pepper to taste.
Use a dash of hot sauce if you want more bite, but the peppers may be hot enough for you.

Eat with chips all day long, LOL!
Actually, we often freeze about half of it, becuase if you keep it in the fridge too long it turns brown and doesn't look so great. It will freeze and thaw extremely well.

Sunday, August 19, 2012

Peach Season!

Around here, its peach season! We took a trip to a local farm and bought half a bushel of peaches to enjoy! We'll be making jam out of most of them, but we're eating them fresh and look at this- we grilled them!!
The grocery ad showed them grilled and I thought that sounded fabulous. I'd never had grilled peaches, but I have had grilled pineapple. Peaches are sweet and juicy like pineapple so I thought it would be just as great...I was RIGHT!
My awesome husband cut these in half, removed the pits and placed them on the grill cut side down. About five minutes later he turned them over and let them cook another three minutes. He sprinkled just a touch of sugar over them and they were AH-mazing!!!!
Summer side dish? Oh yes. Dessert? Sure, that works too!
*the peel was left on and that was just fine with me too.

Thursday, March 1, 2012

Cheesy Bread!

When we have Italian food we like to have cheesy bread on the side. Kinda like they make at pizza places. This is what ours looks like
and here's what we do...
My husband mixes cubed margarine, minced garlic, garlic powder and garlic bread sprinkle (could use garlic salt) and some parmesan cheese.
He spreads that onto halves of a loaf of french bread, then tops it with mozzarella cheese and sticks it under the broiler for a minute or two.